| Alesandra Dubin, Laura Millar |
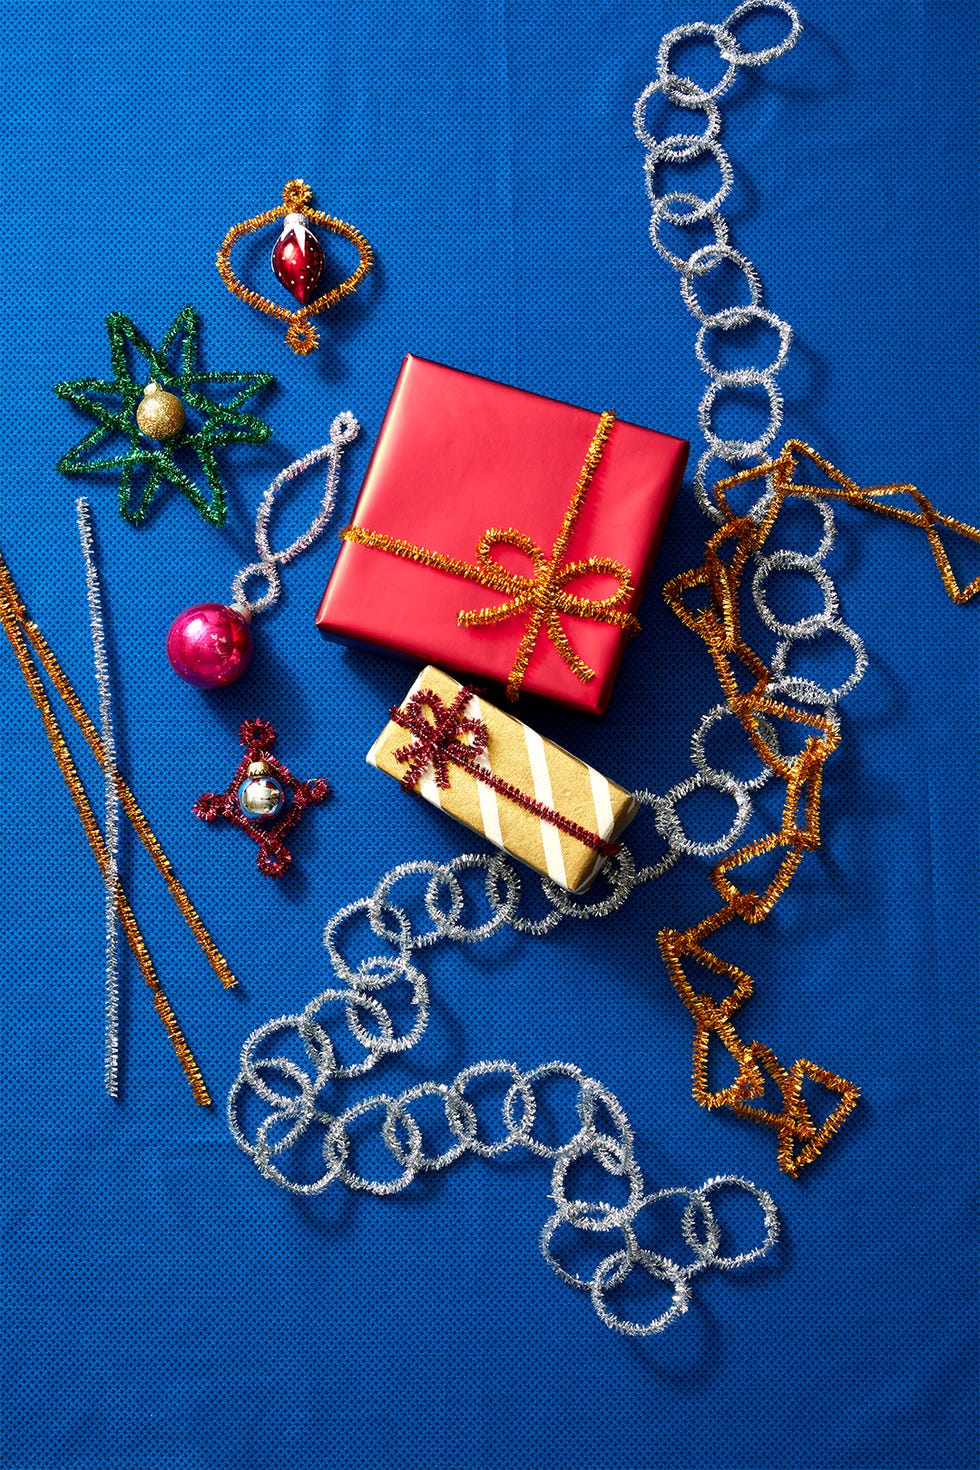
Pipe Cleaner Decor
Have your kids use pipe cleaners to make their own ornaments, gift wrap and garland. Simply wrap pipe cleaners around gifts or create garland by looping pieces together and twisting the ends. You can even bedazzle ornaments by twisting pipe cleaners into different shapes and weaving them through.
Beaded Bow Ornaments
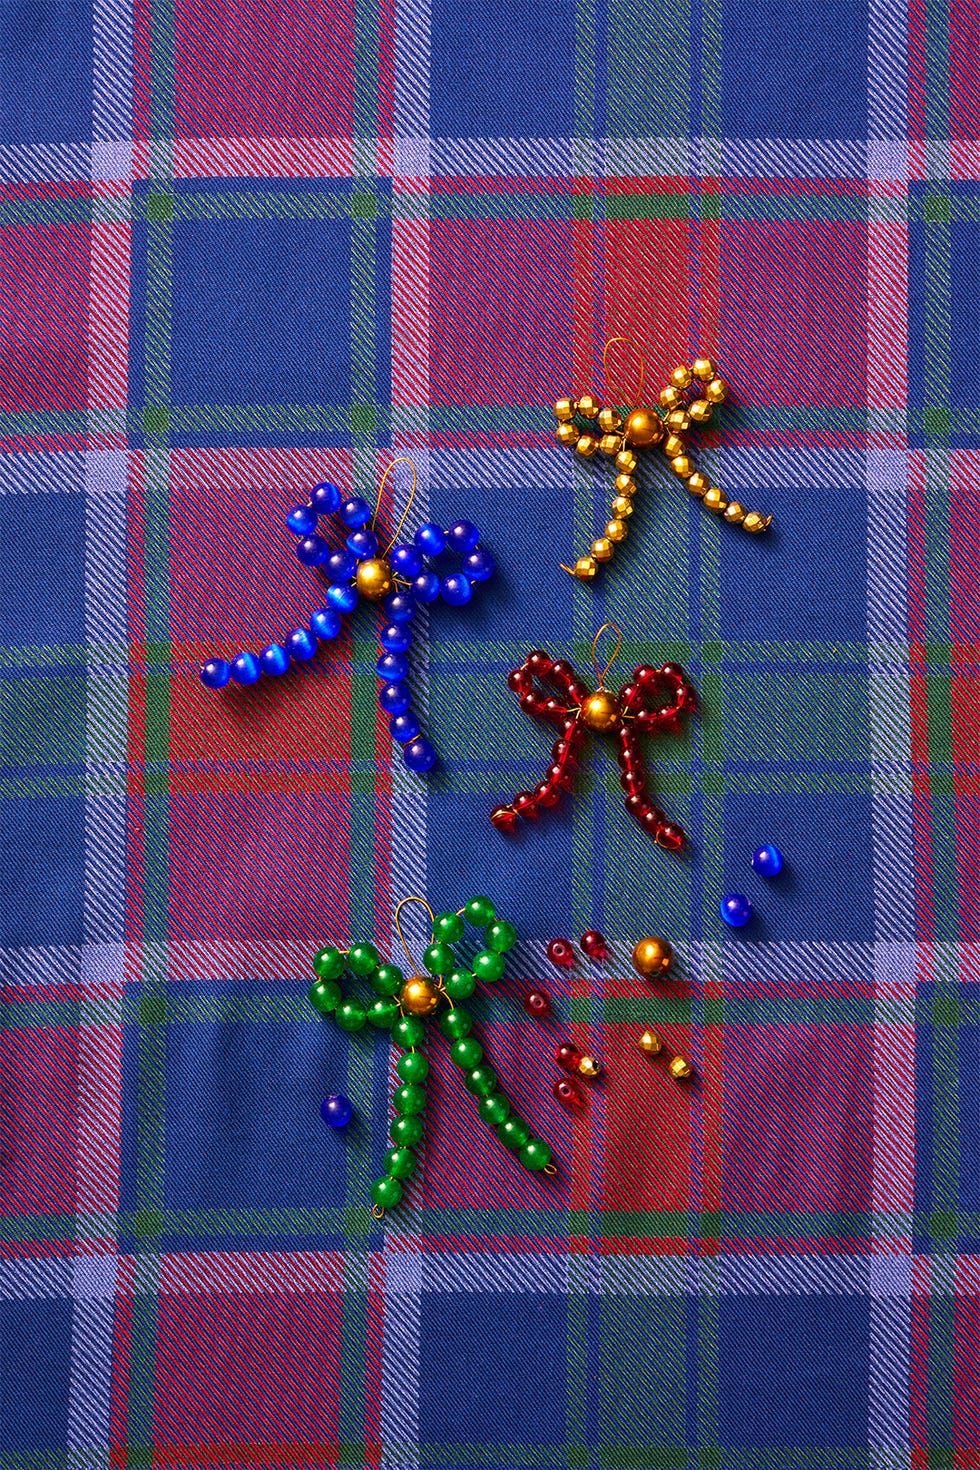
With a bit of guidance, your kids can make cute beaded bow ornaments using just wires and beads. String on six smaller beads, one large bead and then six more smaller beads. Next, thread one end of the string through the large bead, repeating on the other side so that the two tails come out of the large bead. Then, add six more smaller beads to the ends of the string and secure each tail by wrapping it around the last bead. Add wire to the top so you can hang it on your tree.
Advertisement – Continue Reading Below
Paper Chain Garland
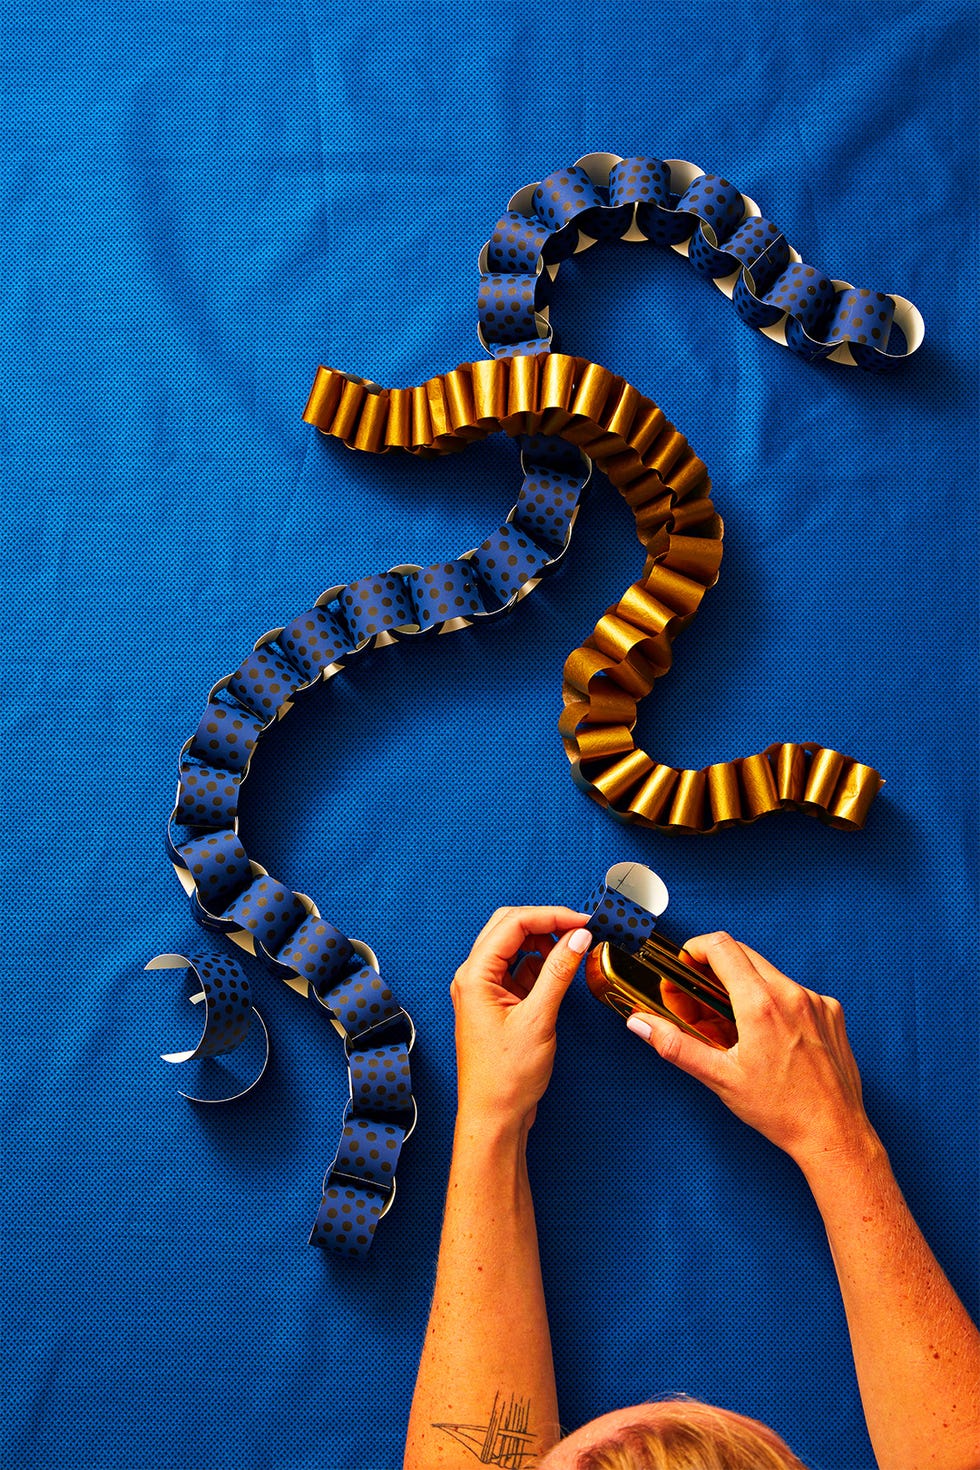
If you’ve got some leftover wrapping paper, craft paper or tissue paper this holiday season, your kids will love this next craft. Help them cut 3 x 6 inch and 3 x 4.5 inch strips of paper (different size loops will add personality to your garland). Then, loop the paper together and staple the ends to create a circle. Thread the next strip into the loop and keep going until you’ve created your desired length of garland. Hang it on the mantel, fireplace or on the tree!
Cupcake Liner Crafts
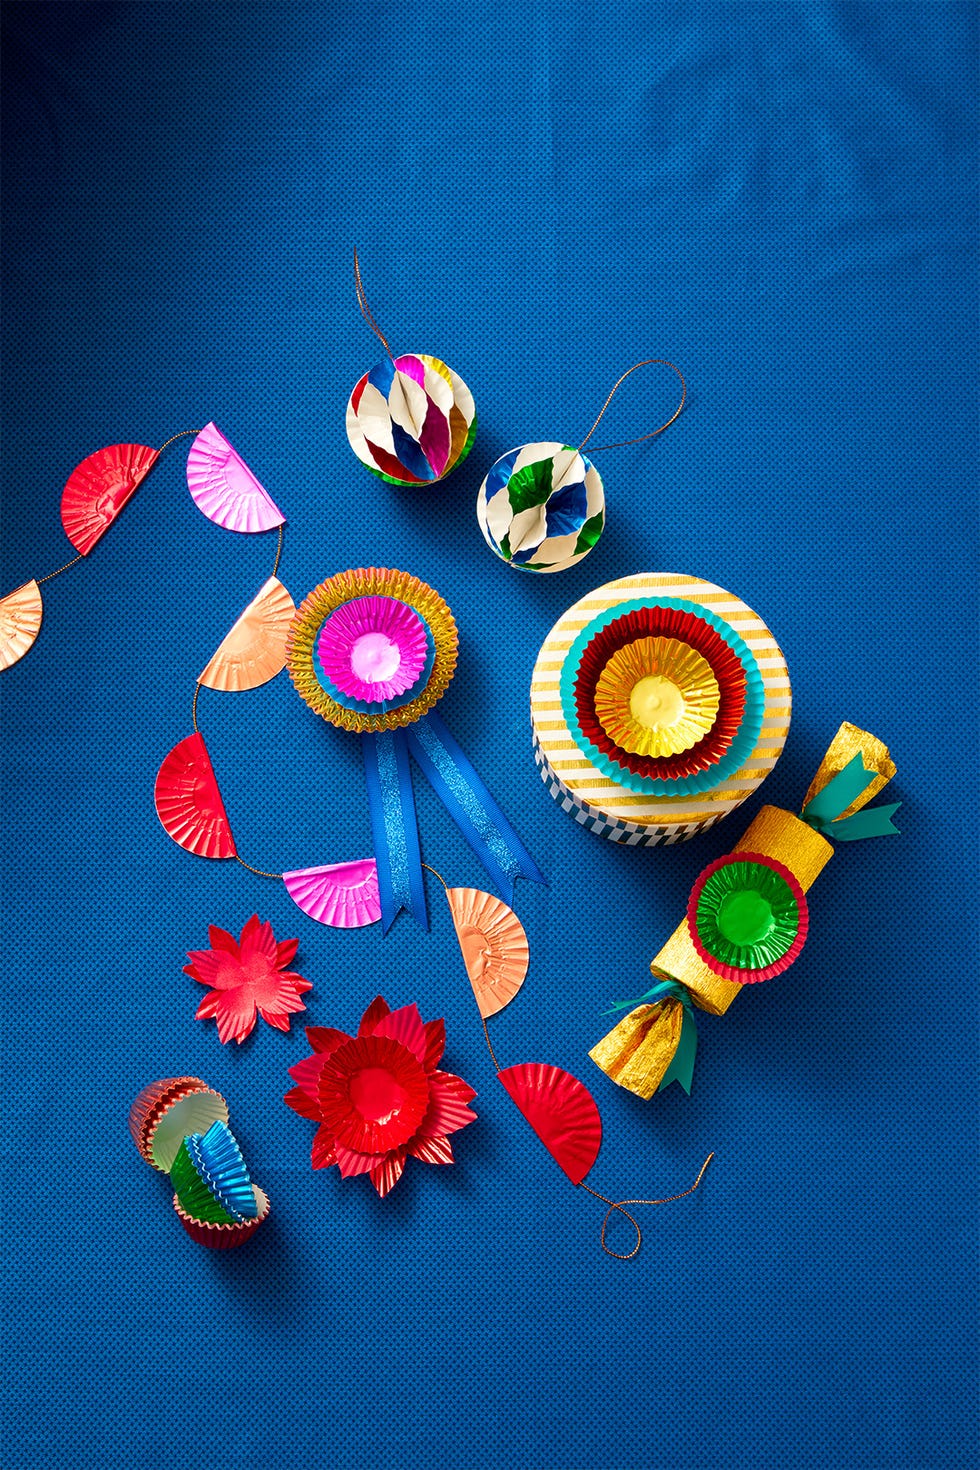
Whether you’re going for garland, ornaments or gift wrap, cupcake liners will help you and your kids get the job done. Simply fold and stick them onto twine using double-sided tape for colorful garland or layer them with glue dots for customized gift wrap. You can even create cupcake liner ornaments. All you need to do is flatten and fold 10 liners, securing the middle with a glue dot so the edges of each side of the liner stick together. Then, add glue dots to the top and bottom of the outer layer and place the next cupcake liner on top until you use all 10 liners. Connect the top and bottom liners with two more glue dots so they create a beautiful sphere ornament to hang on the tree!
Advertisement – Continue Reading Below
Tinsel Wreath

While the end result of this craft looks sophisticated, it actually only takes a few steps! Simply hand your kids some tinsel and help them add sparkle to a wreath. Just make sure to have them use a lighter touch so the tinsel doesn’t tangle.
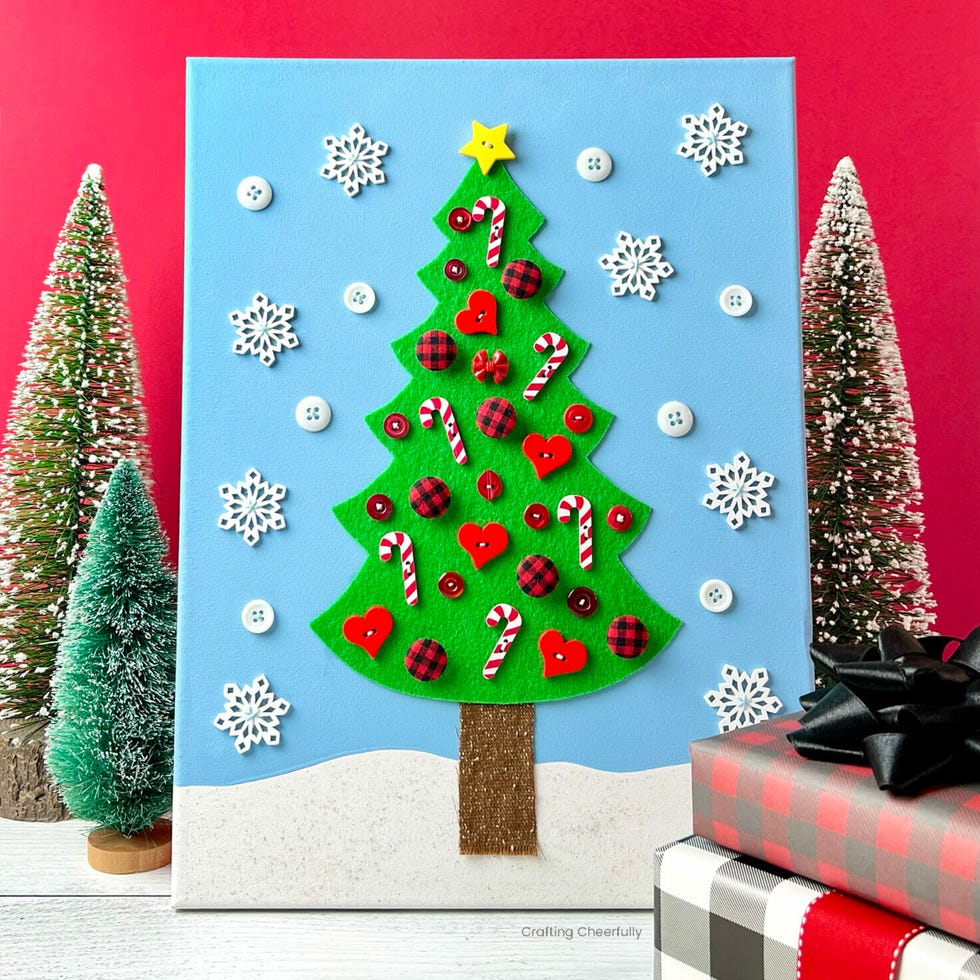
Christmas Tree Canvas Art
Advertisement – Continue Reading Below
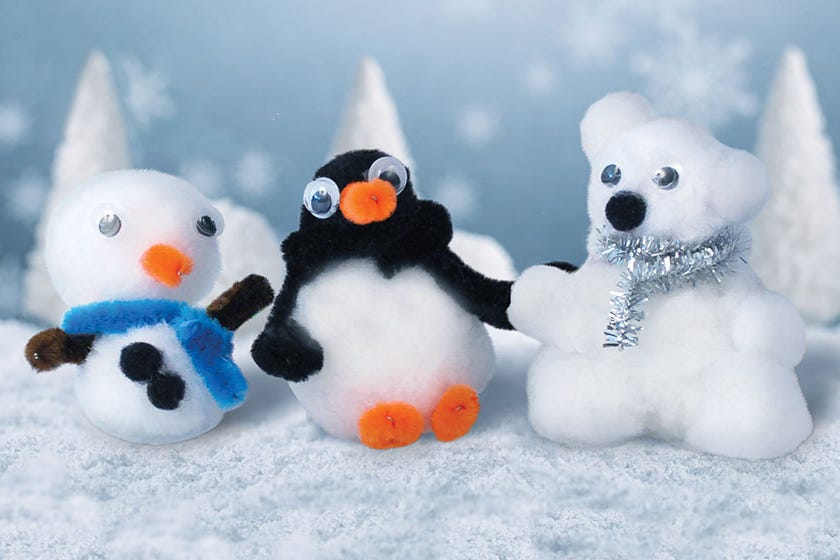
Winter Pom Pom Figurines
Handprint Reindeer
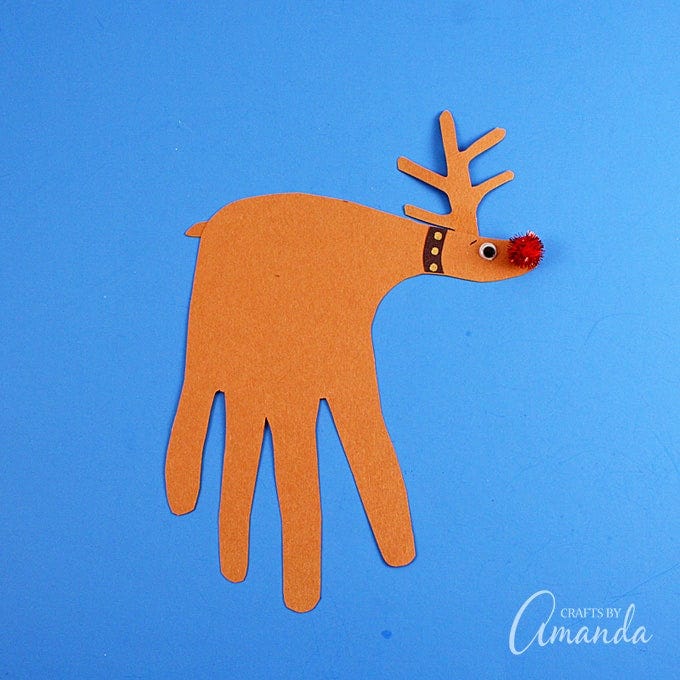
Create Rudolf with the whole family using just brown construction paper, googly eyes and pom poms. Have your kids trace their hand, cut it out and decorate it to their liking. You can also create a handprint Christmas tree and Santa Claus using the same method.
Advertisement – Continue Reading Below
Toilet Paper Roll Ornaments
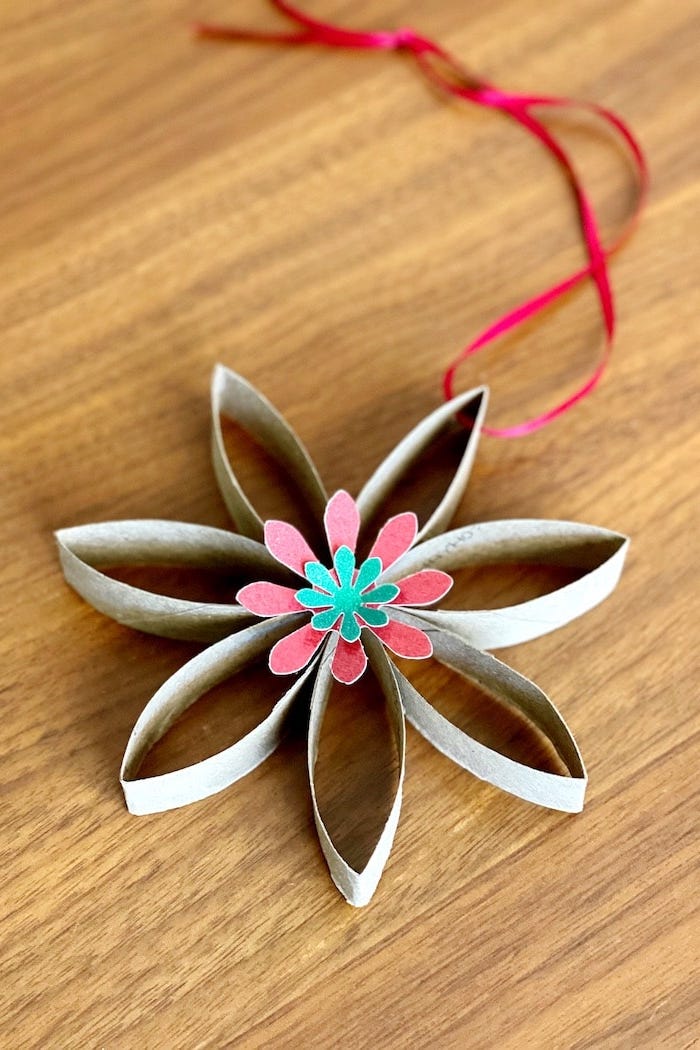
Upcycle toilet paper rolls for this easy DIY ornament. Flatten the tube and cut pieces out at your desired width. Then, create a flower design with the rings, gluing at the center. Decorate with paint or glitter, weave in string and hang on the tree.
Christmas Bucket List
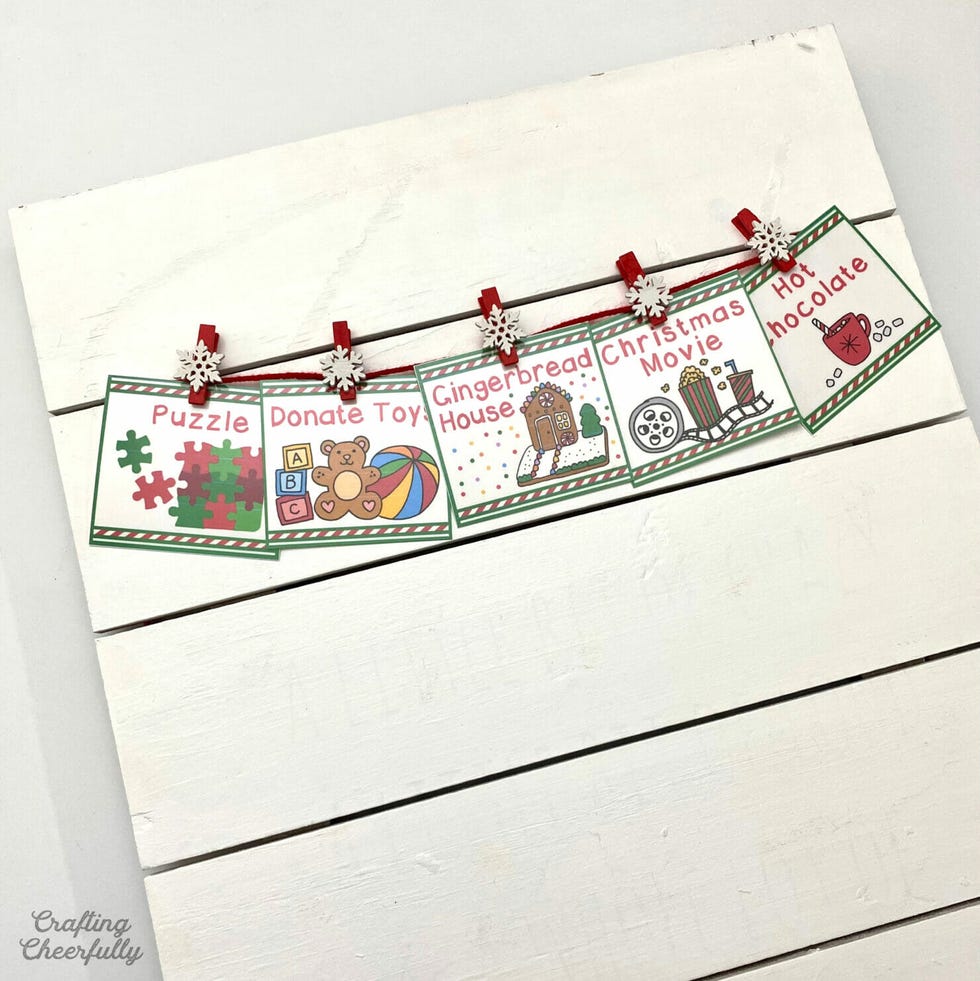
Advertisement – Continue Reading Below
Mini Canvas Ornament
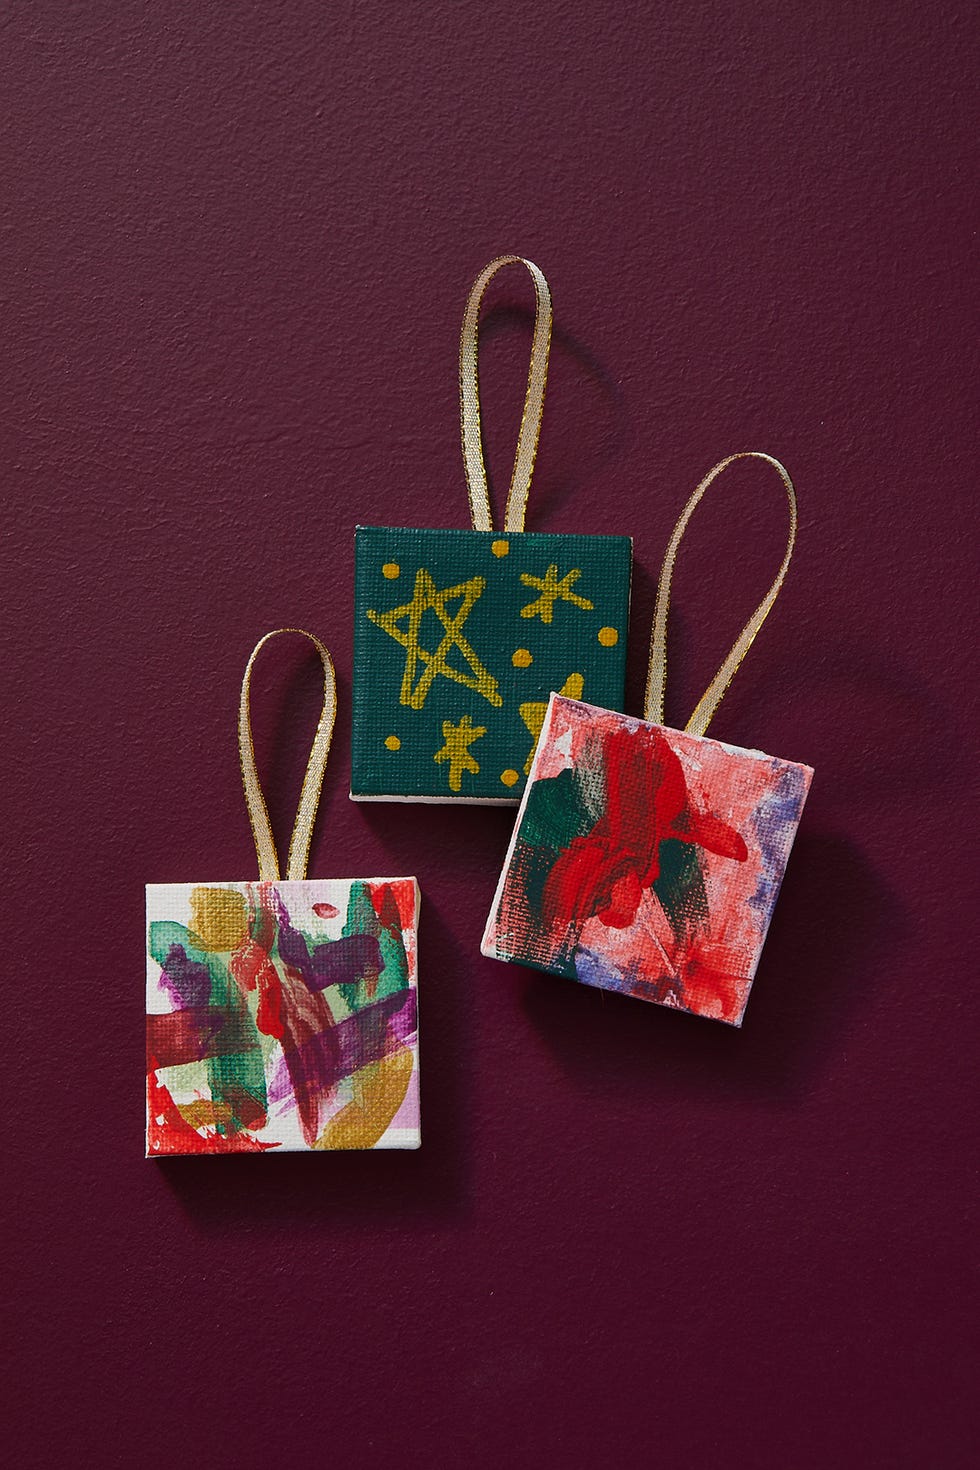
This super easy craft lets children explore their inner artists and create mini masterpieces that make a great addition to any tree. Simply use acrylic craft paint and paint pens to decorate mini canvases. Once dry, attach a ribbon hanger to the back with glue and then add to your tree. In need of some gift inspo? These make great ornaments and decorative gift tags for grandparents, teachers, babysitters, and friends as well!
DIY Toy Drum Ornaments
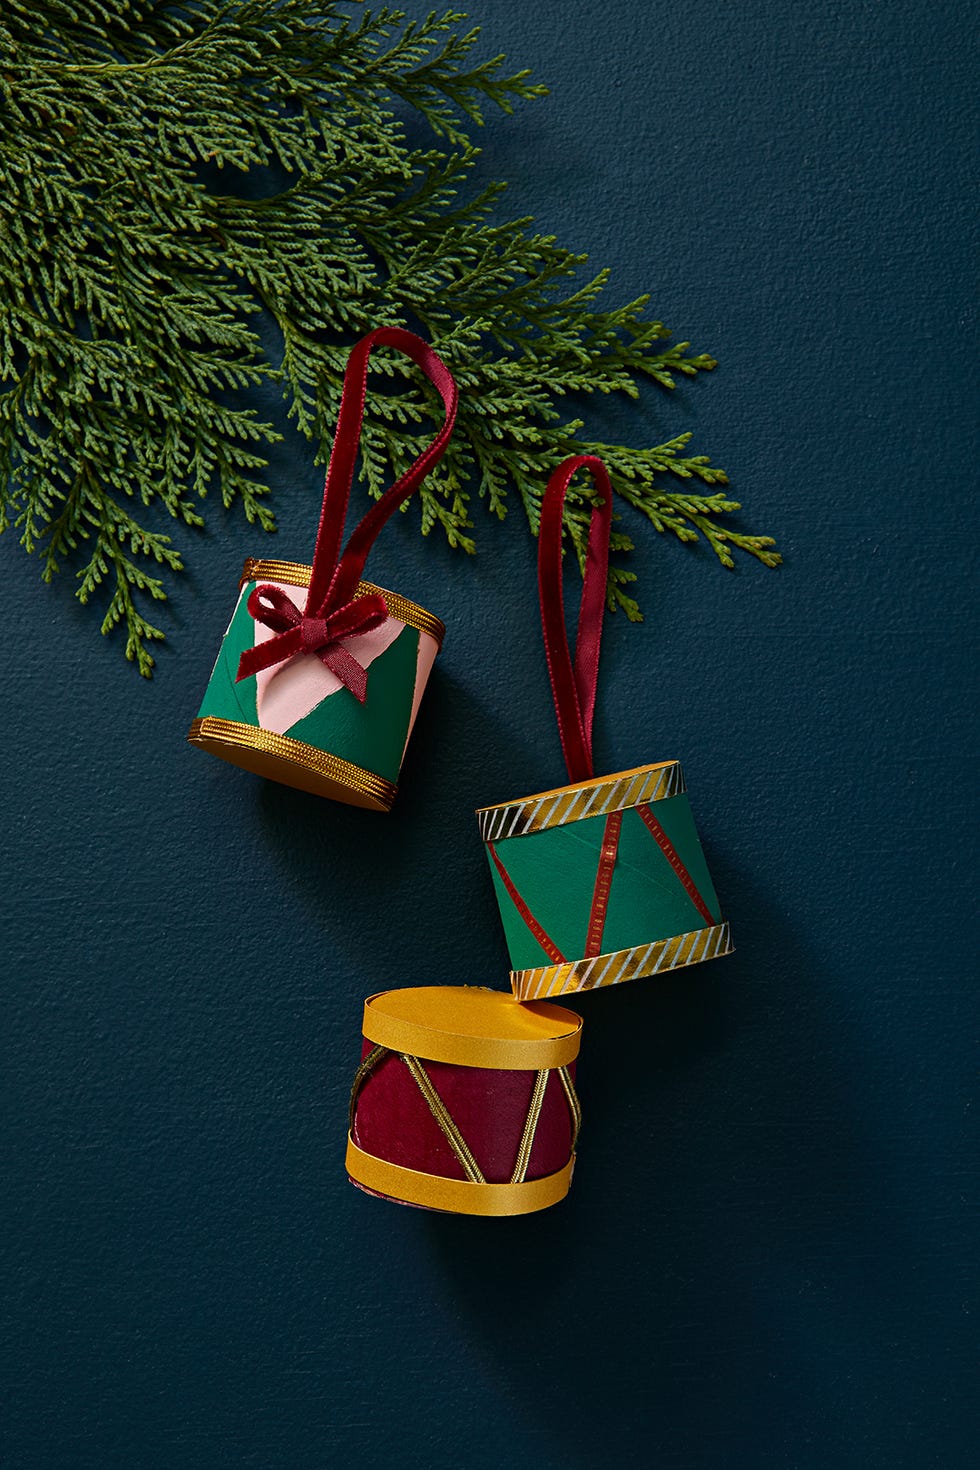
Your everyday toilet paper rolls have never looked so good thanks to this tutorial. To create these toy drum ornaments, cut down a toilet paper roll with scissors to about 1.5”-2” tall. Then, paint the outside with acrylic paint and let dry. Cut two circles that are the size of the opening of the roll out of craft paper, and attach using some hot glue. Add any details you want onto the side of the drum, like making a crisscross pattern with washi tape or ribbon attached with a thin line of hot glue if needed. Use a strip of washi tape, ribbon or craft paper attached onto the top and bottom of the “drum” to create a clean straight line. Add on a loop of ribbon with a dot of hot glue onto the side to hang your little drums onto the tree!
Advertisement – Continue Reading Below
Wrapped Candy Ornaments
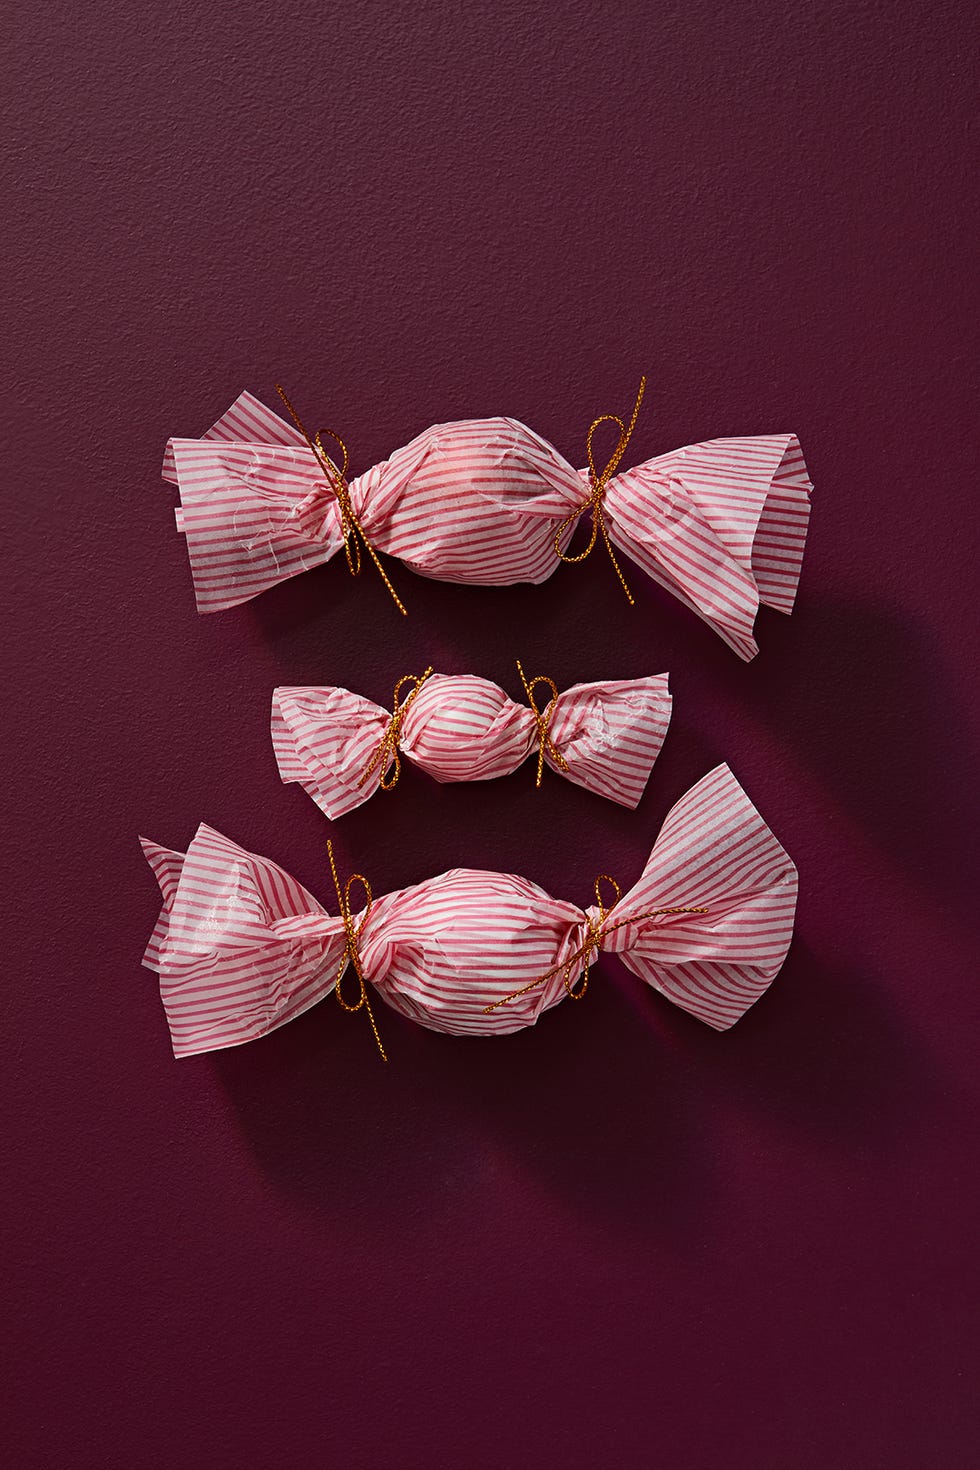
A great way to repurpose mismatched or boring ornaments! Cut a square of parchment paper and place a round ornament in the center. Wrap the paper around it like a candy, twisting the paper to secure it. Add decorative bows to either end and hang.
Starburst Ornament and Tree Topper

You can easily make use of toilet paper rolls and leftover scraps of wrapping paper in this DIY craft — which can be designed as an ornament or a tree topper. Start by painting the inside and outside of the toilet paper rolls with contrasting paint colors and let dry completely. Measure 2” down the roll and mark all the way around, and then flip the roll over and measure 2” down and mark all the way around so you have a ½ wide inch gap marked in the middle of the roll.3. Starting on one end cut 8 evenly spaced lines stopping at the 2” mark you made. Flip the tube around and repeat step 3 on the other side. Fold down the cuts you made on one side and cut the rectangles into points with your scissors. Repeat step 5 on the other side. Finish the star off by flattening the folds down to make sure they stay in place. Add a ribbon and hang the ornament onto the tree or use it as your tree topper this Christmas season.
Advertisement – Continue Reading Below
Animal/Family Ornaments
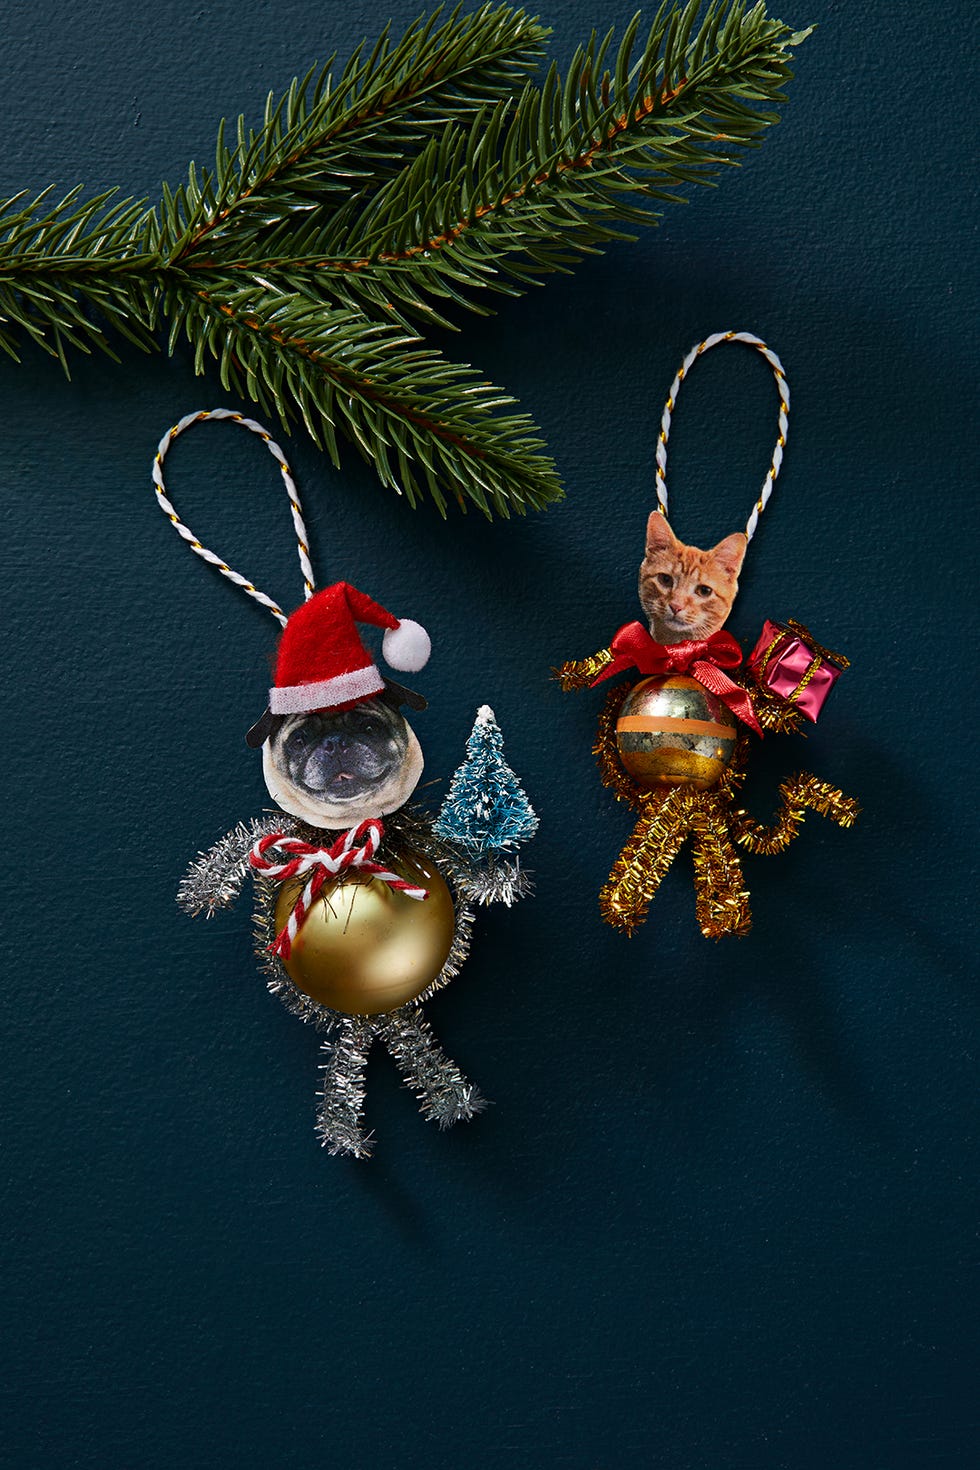
Even our furry friends deserve a place on the tree. Start creating these purrr-fect ornaments by wrapping a pipe cleaner around a small ornament (using hot glue if needed). Create little legs by folding the pipe cleaner in half. Add on another set of legs and tail by cutting small bits of pipe cleaner to the one you have wrapped around the ornament by twisting it or adding a small dot of hot glue to secure. Then, use hot glue to add your pet’s printed-out face on top and any other small decorations you wish. Add a string to hang with hot glue and your ornament is complete!
SHOP SMALL CHRISTMAS ORNAMENTS
SHOP MINI CHRISTMAS DECOR AND FIGURINES
DIY Upcycled Wallpaper Ornaments
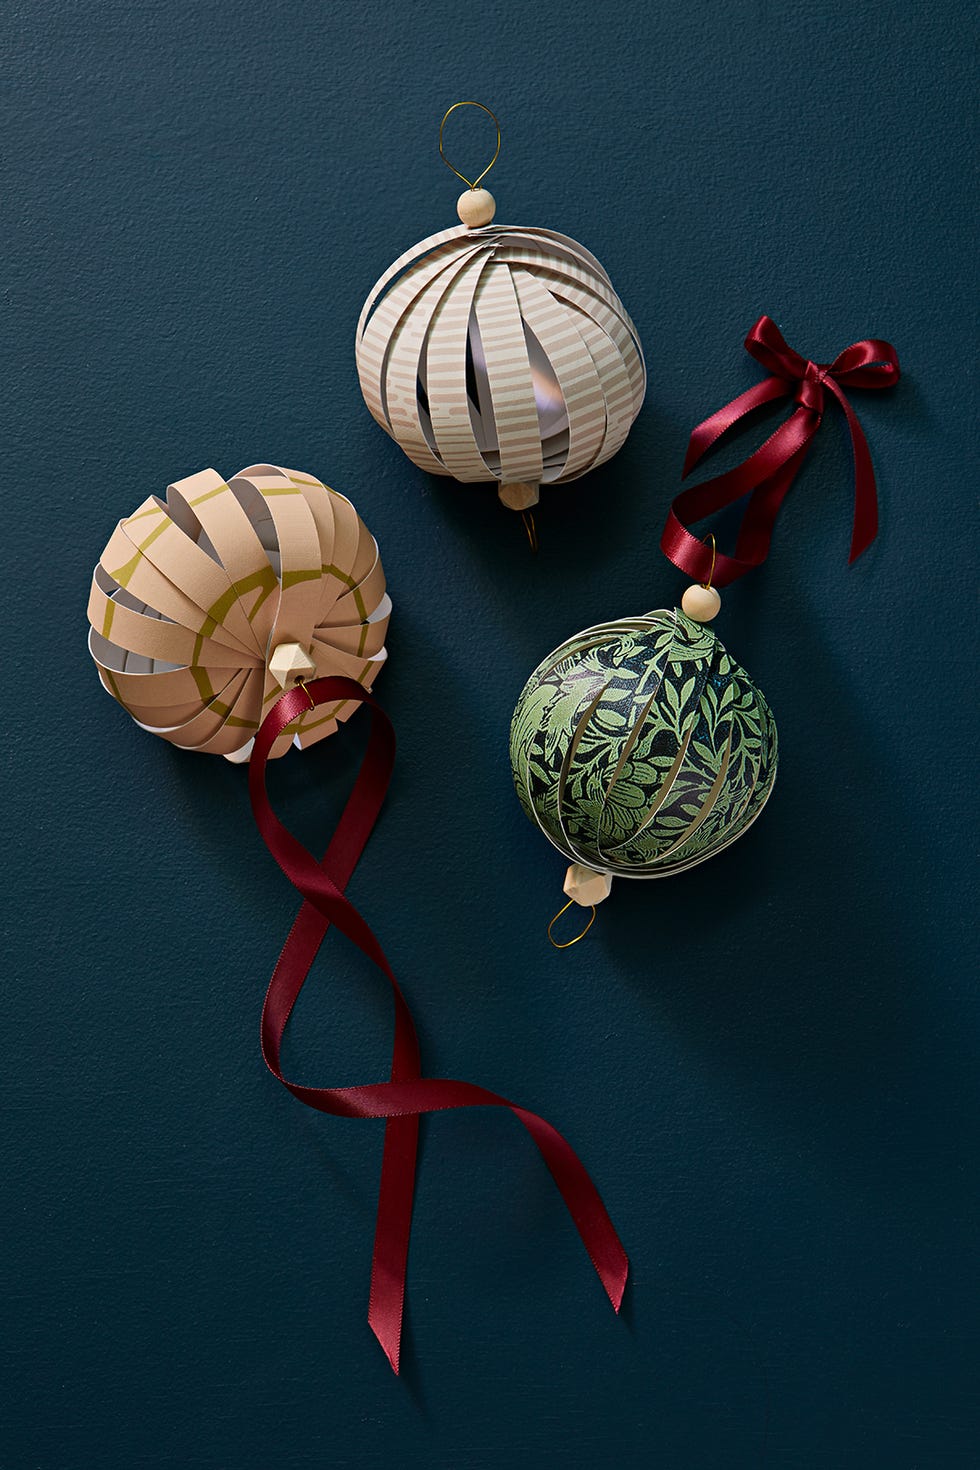
Take advantage of old wallpaper scraps or buy a pack of your own to create these unique ornaments. Cut wallpaper into nine .5” x 10” strips. Poke three holes in each strip (top, middle and bottom). Thread a wooden bead onto a 10” piece of floral wire and wrap the wire around itself to secure. Next, add paper strips onto the wire through the center hole. Thread each end of the bottom strip onto the wire. Move clockwise repeating with each strip until all ends are on the wire. Add on another wooden bead and make a loop of wire and wrap it around itself to secure. Tie a ribbon on top to hang.
Advertisement – Continue Reading Below
Pine Cone Swan Ornament
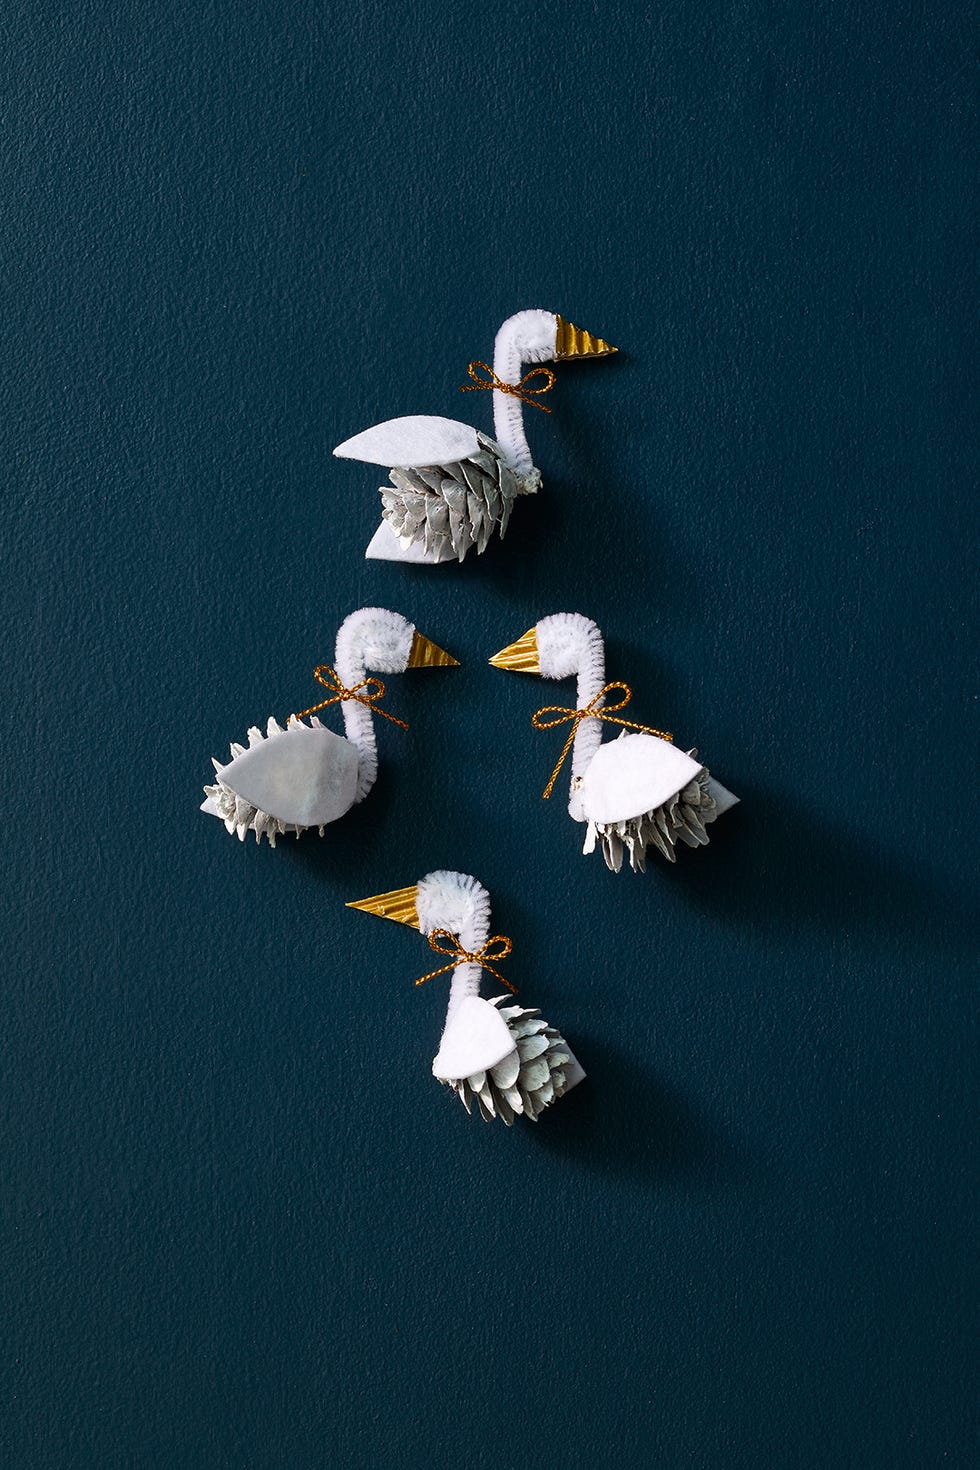
Bring the “seven swans a swimming” from the iconic “12 days of Christmas” song to life with this easy tutorial. Paint a mini pinecone white and let dry completely. Roll the end of a white pipe cleaner around itself to make a little head for your swan. Cut the pipe cleaner about 1” below the head you made and attach it to one end of the pinecone with a dot of hot glue to create your swan’s neck and head. Cut a small triangle out of your gold craft paper and attach it to the side of the pipe cleaner head to make your beak. Cut out two small wing shapes out of felt and hot glue them onto the side of the pinecone to make your wings. Add a looped piece of string to the swan to create an ornament and show off proudly on the tree.
Biodegradable Garlands

Biodegradable and compostable, these old-school style garland strands are a great way to use old pantry staples and create one-of-a-kind Christmas tree decor. Thread a needle and sturdy monofilament through leftover or stale pantry items like popcorn, dried fruits, bay leaves and candy. Or loop decorative ribbon around pretzels and dried pasta for an unexpected twist! We painted our pasta metallic gold for extra shine! Hang on your Christmas tree, out of reach from small children and pets. Once the holidays are over, remove the monofilament/ribbon and pop in your nearest compost bin!
Advertisement – Continue Reading Below
Pine Cone Flower Ornaments
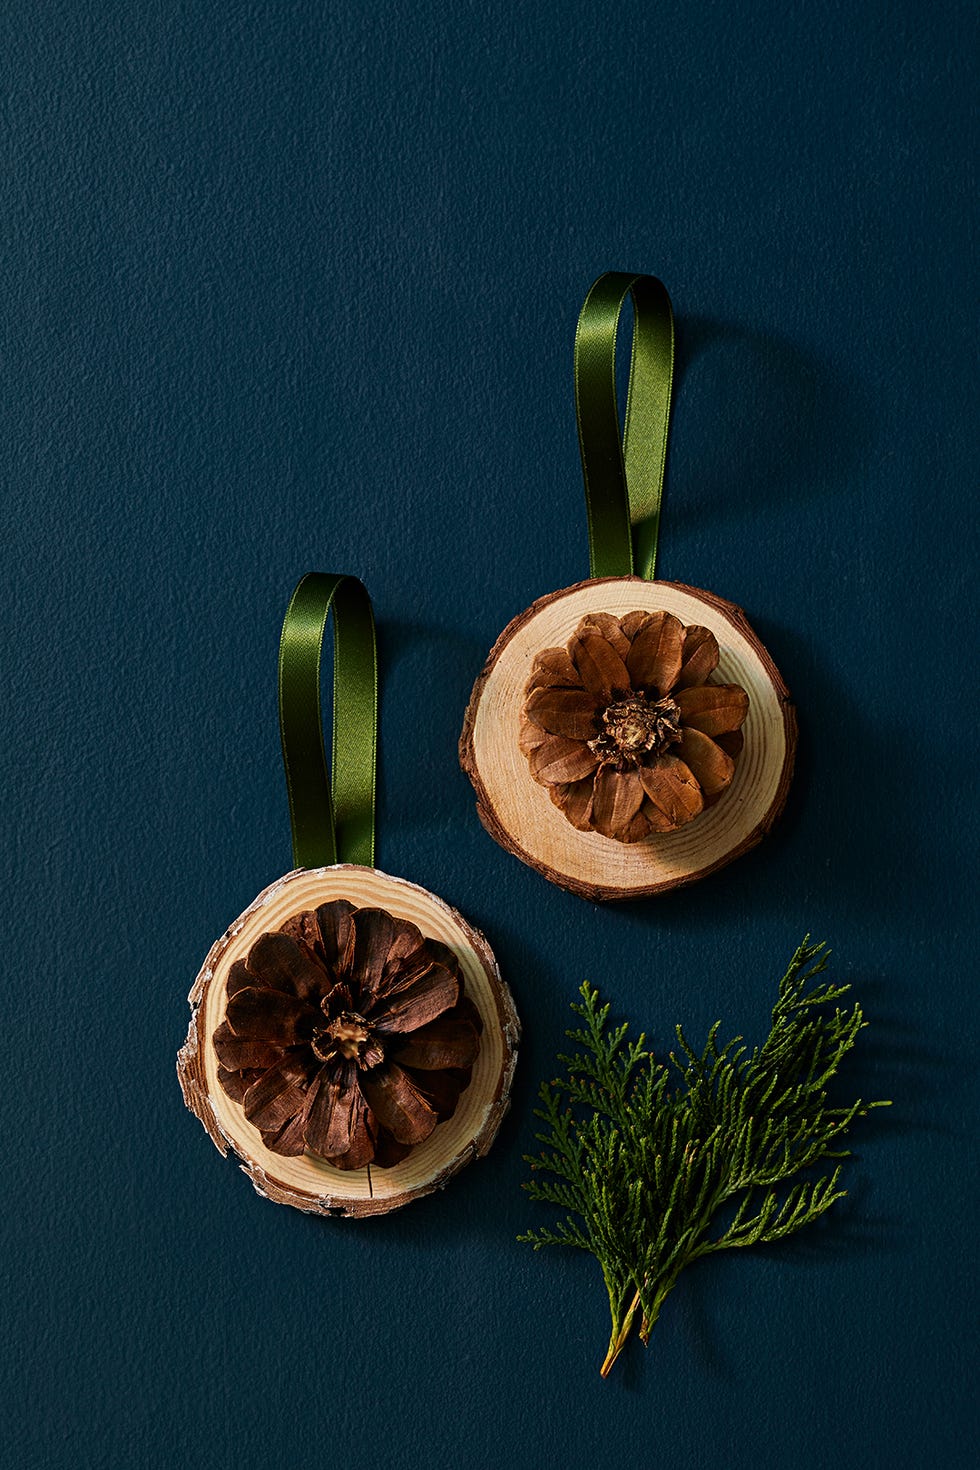
Using sturdy floral clippers, cut off the bottom half of a pinecone — it’s easiest to make a few cuts and twist until the pinecone breaks. Hot glue the bottom of the pinecone to a round wooden disk. Once dry, glue a ribbon loop on the back of the wooden disk to hang.
Popsicle Stick Wreath

Stock up on small and large craft sticks, then have the kids paint them three different shades of green. Glue the sticks to a 12″ foam wreath, overlapping and mixing the shades of green as you go. A red ribbon finishes off the look.

Alesandra is a digital travel and lifestyle journalist based in Los Angeles whose work has appeared in Good Housekeeping, Woman’s Day, Prevention, Insider, Glamour, Shondaland, AFAR, Parents, TODAY and countless other online and print outlets. Alesandra has a masters degree in journalism with an emphasis on cultural reporting and criticism from NYU, and a bachelor’s degree from UC Berkeley. An avid traveler, she trots the globe with her husband and their twins.
Laura Millar (she/her) is the assistant editor for Good Housekeeping, where she covers home design. Prior to joining Good Housekeeping in 2024, she wrote for NBC’s TODAY.com where she covered everything from entertainment news to product reviews to pop culture updates.
Watch Next

Advertisement – Continue Reading Below
Advertisement – Continue Reading Below
Advertisement – Continue Reading Below

