Easter egg dye kits have their place and all, but there’s also something to be said for going rogue with different colors, patterns, and dyeing methods. There are so many ways you can decorate your Easter eggs: geometric designs, holiday-appropriate accents, or even with food straight from the pantry for a more natural version.
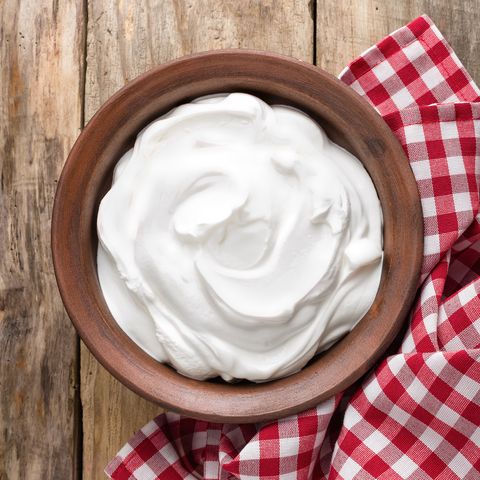
But for a design that’s actually far easier to master than it looks, give these marbled Easter eggs a try. To get the beautiful marbleized effect, raid your medicine cabinet for a can of shaving cream (or head to the fridge for whipped cream, if you want to eat them) and let the food coloring work its magic. The best part? The unique design hides any imperfections, so you don’t have to worry if your crafting skills are up to par.
How to Make Marbled Easter Eggs
- Fill your baking sheet with shaving or whipped cream until it’s about an inch thick, then smooth it out with a rubber spatula.
- Drip food coloring onto the cream. Don’t be afraid to be generous with the colors — the more you use, the brighter your eggs will be.
- Use a toothpick to swirl and marble your food coloring droplets.
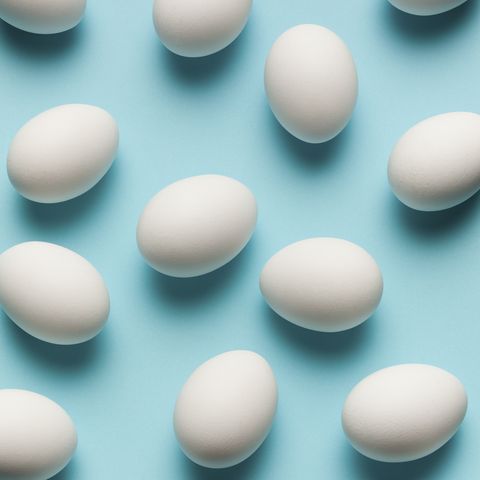
- Pick up a hard-boiled egg — put on rubber gloves first! — and roll it in the cream, coating it completely.
- Carefully place the egg onto a paper towel and let it dry for about 20 minutes.
- Wipe the remaining cream off with a clean paper towel to reveal your colorful marbled pattern.
Friendly reminder: If you plan to eat the dyed eggs, use whipped cream. Not sure what other dyed eggs you can safely eat? Follow this guide.
For can’t-miss news, expert beauty advice, genius home solutions, delicious recipes, and lots more, sign up for the Good Housekeeping newsletter.


